
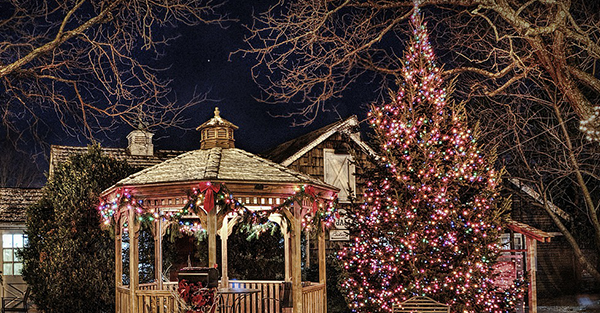
There are right ways and wrong ways to hang Christmas lights. People around Huxley and Ankeny have already begun to dig their holiday decorations out of storage and put up their lights for the upcoming season. This post will discuss how to properly hang Christmas lights without damaging any part of your roof or home. By following these five simple steps, the light hanging process should go smoothly for you.
Step 1: Make a Plan
Before whipping out your lights, do some planning. Don’t just start hanging them around your house and hope you have the correct amount to finish the job. First, determine where you want the lights. Do you want them to frame your entryway? Do you want them lining your roof, along the eaves, framing windows or doors, or around your deck? After you have decided which areas you want to adorn, grab a tape measure. Take measurements of all areas where you want to hang lights, as well as the distance to the power source you will be using. Add all measurements together to determine how many yards of lights you need to purchase or how many strands you need to dig out of storage. If you use an extension cord to connect the lights to the power source, take its length into consideration when calculating measurements.
Step 2: Prepare Your Materials
If you have Christmas lights from previous years that you want to use, be sure they are still in good shape. If they are damaged or contain even a single faulty strand, it could ruin your entire system and pose a danger to you and your home. If you need to buy new lights, make sure you purchase ones that are labeled for outdoor use. The packaging should also tell you how many strands are safe to connect together when hanging. According to Lowe's, it is typically safe to connect up to 25 strands of LED lights, while no more than 3-6 strands of incandescent lights should be strung together. Lights come in many different shapes, sizes, and colors. Types include icicle lights, net lights (for trees and bushes), LEDs, and bulbs.
Aside from lights, depending on where you have decided to hang your lights, you may need to purchase light clips and extension cords. Your local home improvement store will likely have several options for both of these in stock. Specific types of clips have been created to work with various surface types, such as roof peaks, gutters, siding, flat roofs, brick, and shingles. Choose clips that fit appropriately with the kind of lights you have chosen to use.
Step 3: Test Lights
Before you begin hanging your lights, regardless of whether you pulled them out of storage or just purchased them at the store, you’re going to want to test them to be sure they all work. To do this, simply lay out your lights on the ground, and plug them in. After you know they work, attach clips while the lights still on the ground, and make sure the clips are all facing the same direction. Note: all-purpose light clips are great for any type of light.
Step 4: Start Hanging
Once you have all of your clips attached to your lights, it is time to start hanging them. It's very common to clip Christmas lights to gutters. If this is your approach, make sure that all lights are pointed in the same direction (either up or down), and be sure the clips are all facing in the same direction as well. If you’re attaching your lights to shingles, the same concept applies. You’ll just be placing them on the roof with the clips flipped in the opposite direction than if you were attaching them to your gutters. Deck clips are available for hanging lights on railings. When hanging lights anywhere, only put up one strand at a time, and make sure to not let lights hit walls or ladders in the process. You may need an assistant to help you.
Step 5: Flip the Switch!
Finally, it’s time to light it up. Plug in your lights, and enjoy the view. If you have any bulbs that aren't lighting, check to make sure whether they are screwed in tightly or if they have burned out. Replace burnt bulbs. It is a good idea to attach a timer to your lights so they automatically turn off when you want them to. This both saves electricity and prolongs the life of your holiday lights.
Hedrick Constructions provides professional roofing, gutter, and siding services, as well as window and blown-in insulation replacement and installation. Contact us for any of your residential home improvement needs today.


Comments